For our first blog, I thought we should give you a little introduction to our soap making adventure.
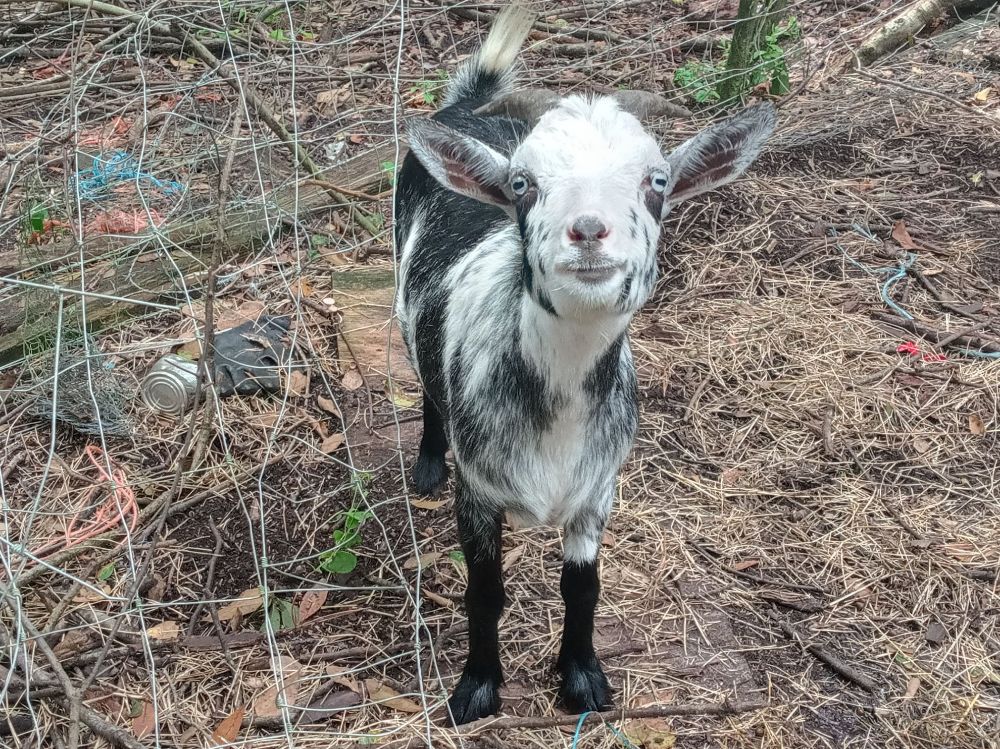
So, how did we start making soap? Well, in God’s Providence like we do everything else. Quinn did not want to make soap—he loved and loves making cheese with his goats’ fresh milk. We breed mostly Nigerian Dwarfs, and their milk is sweet, creamy, and has a high butterfat content. Any food made with it is delicious. Although friends and family kept asking for goat milk soap, it seemed a waste to him and to me to put that goaty goodness into a non edible product.
But God has other plans. A couple of years ago, due to technical goat issues, a doe’s early milk did NOT taste good. Hating to waste all that effort of milking, we said, “Soap it is!” I ordered a “kit” from a goat supply shop. It was basically three bags: one of coconut oil, one of lard, and one of lye. It included a type written “recipe.” Part of the instructions were: :stir for 20 minutes or until it looks like thick honey.” With instructions in hand, and some borrowed molds from a neighbor, Quinn and I went at it.
After 30 minutes of vigorous stirring, Quinn and I said, “Looks like honey to me,” and poured. It was supposed to set up overnight (“saponify” is the technical term). We checked it in the morning. Although it looked weird, we unmolded it and said, “Behold, the soap.” Or something like that.
A couple of days went by, and I decided to give the soap a try. After I took a shower, I was definitely clean—because the unincorporated lye had burned off the top layer of my skin. Well, back to the drawing board.
I did some more investigation, and thankfully, I found Jan Berry at thenerdyfarmwife.com. She had some free recipes on her website, explained technical terms like “trace,” and offered helpful suggestions like, “use a stick blender, not elbow grease.” Voila! Perfect soap! We were so happy that I bought her e-book, and we were in business, so to speak.
Quinn is a good soap maker, but as the mom, I found the soap recipes, ordered the materials, and tweaked Jan’s recipes to suit us best. Quinn loved how much everyone wanted to buy his soap, and soap has an added benefit of extremely long shelf life, and we can buy milk in the off season to keep working. Since we had to buy goat milk, we met local goat herders and developed relationships where we could help each other out.
Thanks to the above mentioned neighbor who ended up giving us all her soap molds, Quinn had great fun picking out which shape to make next. Thanks to our neighbor’s generosity we had a unique product: horses for horse lovers, dogs for dog lovers, pretty flowers, and of course, the standard loaf.
Obviously, we have enjoyed this journey as a family, and are excited to bring you into our soap making journey too!
On that note, we are a homeschooling family, and soap making is a great chemistry experiment. It makes a cool exothermic reaction, and you actually have something useful at the end. It is thanks to homeschooling that Quinn was able to pursue his goat business to the extent that he has. If you are considering homeschooling, but don’t know where to start, feel free to email me (Dana) under “Contact us,” and I will be happy to discuss what has worked for our family.
Here is a simple soap recipe with ingredients you may already have in your kitchen, or can easily find at the local WalMart.
Equipment
Stainless steel pots
Pyrex, heavy plastic or stainless bowls
Large mixing spoon
Long sleeved shirt, goggles, rubber gloves (for working with lye)
Stick/Immersion blender
Kitchen scale
Hot plate or stove
Lined loaf pan or lined cupcake tins
Ingredients
3.95 oz Lye: sodium hydroxide (available at WalMart or a store like Tractor Supply Company)
9 oz Chilled Distilled water
Oils/Fats
14 oz Olive Oil
7.5 oz Coconut oil
6.5 oz lard
1 oz of essential or fragrance oil if you would like
Instructions
Use the kitchen scale for all measurements.
Measure out your chilled distilled water and pour in your stainless steel pot. Gear up with rubber gloves, long sleeves and goggles. Carefully measure the lye in a container and pour into the distilled water. NEVER POUR WATER INTO LYE. Don’t fear the lye, but respect it. Be sure that you are in a well ventilated area because when lye hits liquid it causes an exothermic reaction and heats up. We freeze our goat milk and use it instead of water with the lye.
Now, measure out your oils and pour into your second stainless steel pot. Heat until the lard and coconut oil are just melted.
Wait until both the lye mixture and the oil/fat mixture cools to around 90 degrees.
Pour the oils into the lye pot and mix vigorously with the stick blender pausing frequently to stir by hand. DO NOT LIFT THE BLENDER OUT OF THE BATTER WHILE IT’S RUNNING. When the soap batter is ready it will become thick like cake batter, and when you stir by hand, the batter leaves a line or “trace” on top of the mixture. Mix the essential or fragrance oil in at this time. Mix well, and pour into your prepared mold.
Wait overnight or up to 24 hours and unmold. The mixture will get very hot when it “saponifies, so don’t touch until it is cool the next day. Cut into bars, and Congratulations! You have made soap! Store the cut soap in a well ventilated area to cure for at least 3 weeks. Blowing a fan over the soap makes it cure faster. Curing gives the water time to evaporate out of the soap leaving you with a hard, longer lasting bar.
If this sounds like too much work, let us make soap for you! Use the discount code THANKSBLAZE10 to get 10% off your order. We are working on some fun new products, and delightful scents for Christmas!
Soli Deo Gloria,
The Pittmans
Ben, Dana, Quinn & Grace